The best time to migrate from UA to GA4 is right now. Completely moving your historical data from UA to Google Analytics 4 is not possible, but if you make the change with enough time, then GA4 will have something to work upon.
In order to make things right, follow the step-by-step guide to migrate from UA to GA4 in a efficient way.
Step 1: Audit Your Universal Analytics Property
The first thing that you must do is audit your Universal Analytics Property correctly. It is fundamental to understand all the little (and not so little) pieces of information that UA has recorded over the past few months so you can later “move them” into GA4.
Make a report of all your valuable data points in Universal Analytics, and save them in your preferred format (CSV, PDF, Google Sheets, etc.).
Once you are fully aware of the important data factors that you want to replicate in Google Analytics 4, it’s time to move on to the setup assistant.
Step 2: Start Switching from UA to Google Analytics 4
Open your Universal Analytics Admin panel, and at the very top of the screen, you will see a Google disclaimer that says that you must move to GA4 because UA will no longer process data after July 1, 2023.
This disclaimer has probably been there for a while, and you can’t hide from it anymore – click on “Manage GA4 migration” and let’s get started with your new property on GA4.

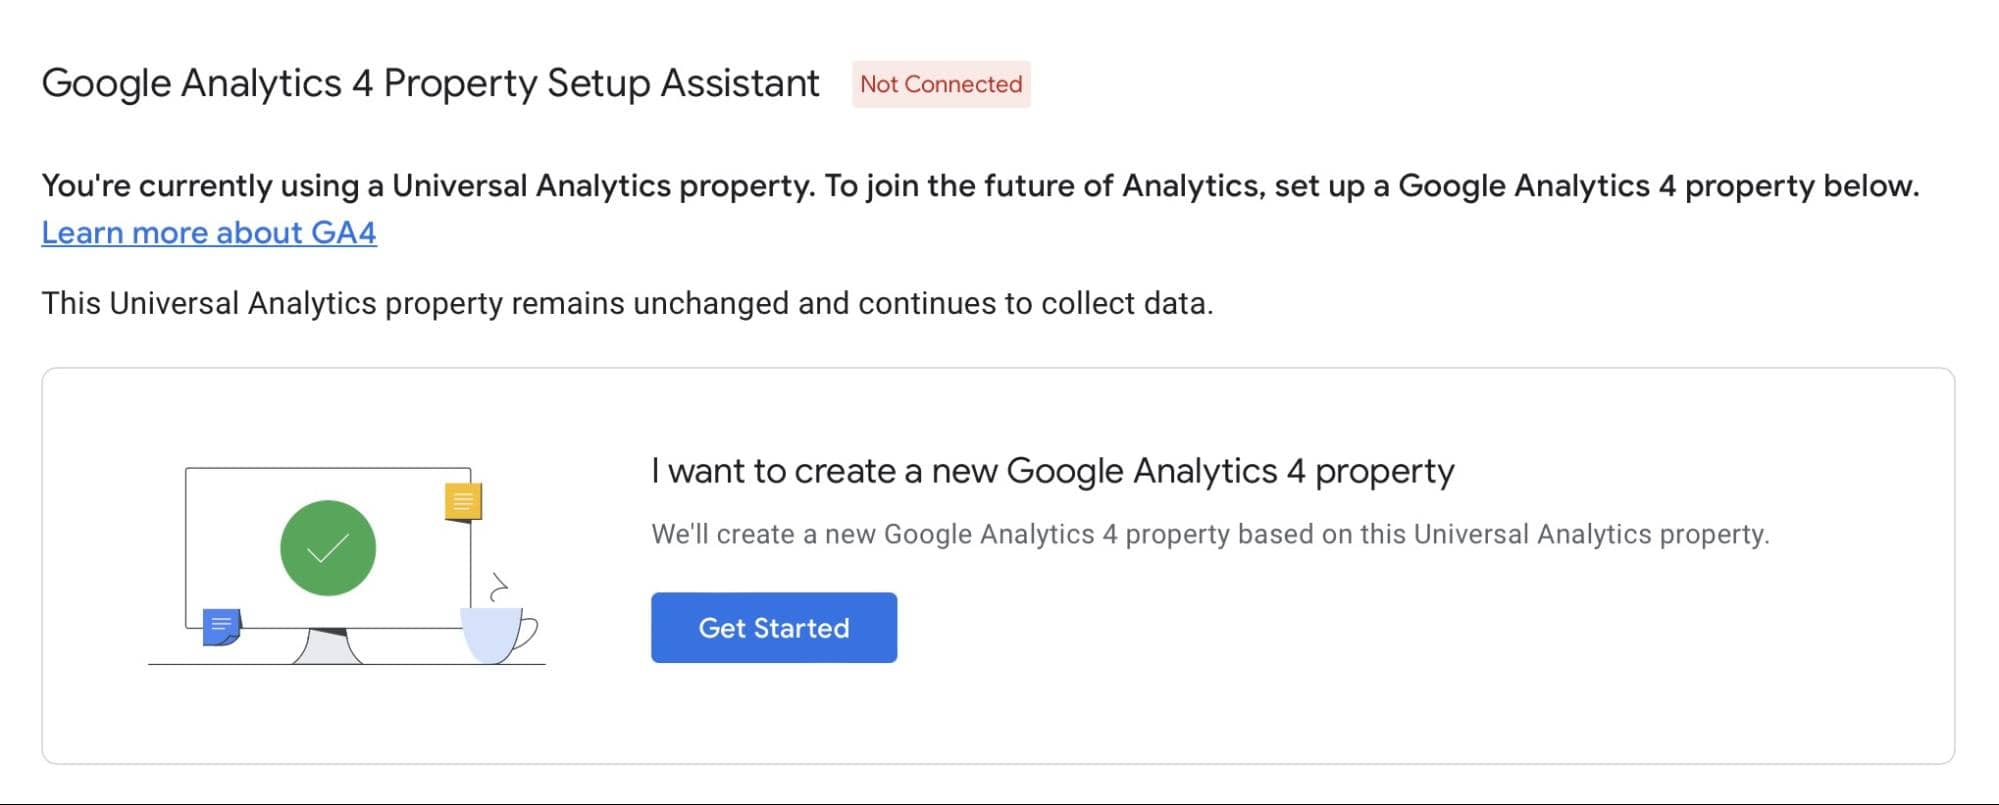
Step 3: Get Started with the Google Analytics 4 Property Setup Assistant
The Google Analytics 4 Property Setup Assistant will open. In order to create a new property on GA4, simply click on “Get Started”, and the property will be automatically created.
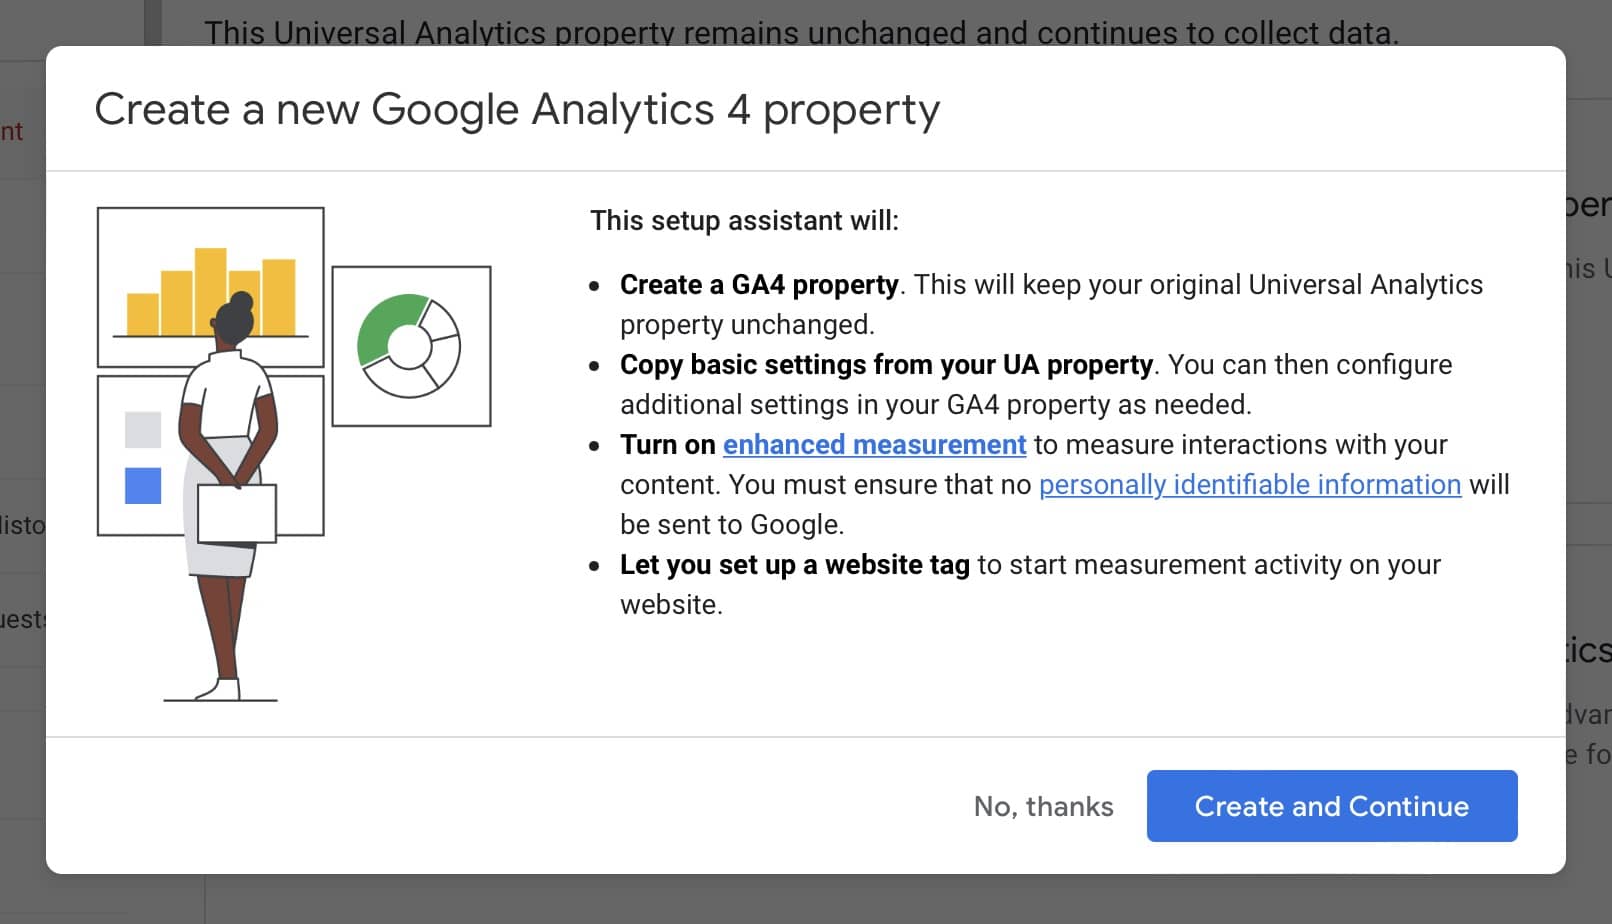
The setup assistant will inform you about further steps: it will create a new GA4 property, copy your very basic settings into it, start collecting data on your new property, and give you the option to turn on enhanced measurement if needed (we’ll get to this point in no time).
Click on “Create and Continue,” and move on to the following screen.
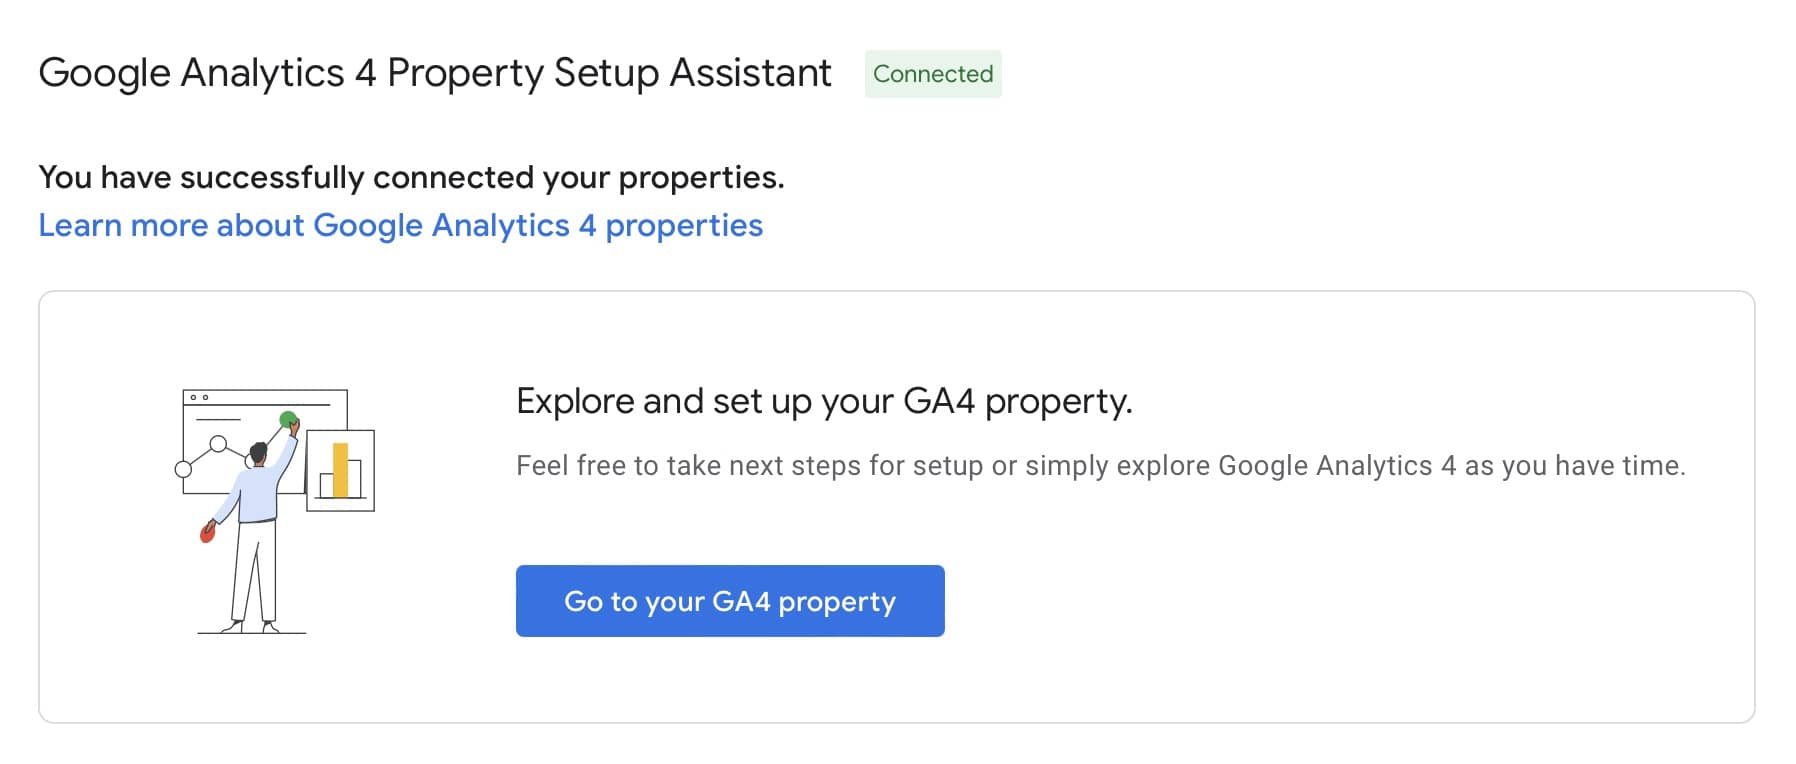
And just like that, your new GA4 property has been created! But you are not ready yet – this is just the basics.
Select “Go to your GA4 Property,” and continue with the following step.
Keep in mind that your UA account will remain unchanged – it will still perform data collection duties until July 1, 2023, and you can click on “Open Connected Property” in case you want to check UA data.

Step 4: Configure Your Google Tag Manager (tracking code for your website)
When you go to the main Data Stream Interface on Google Analytics 4, you will be informed that data collection isn’t active for your website.
This means that Google Analytics 4 is not collecting any data because you haven’t set your Google Tag Manager on your website yet.

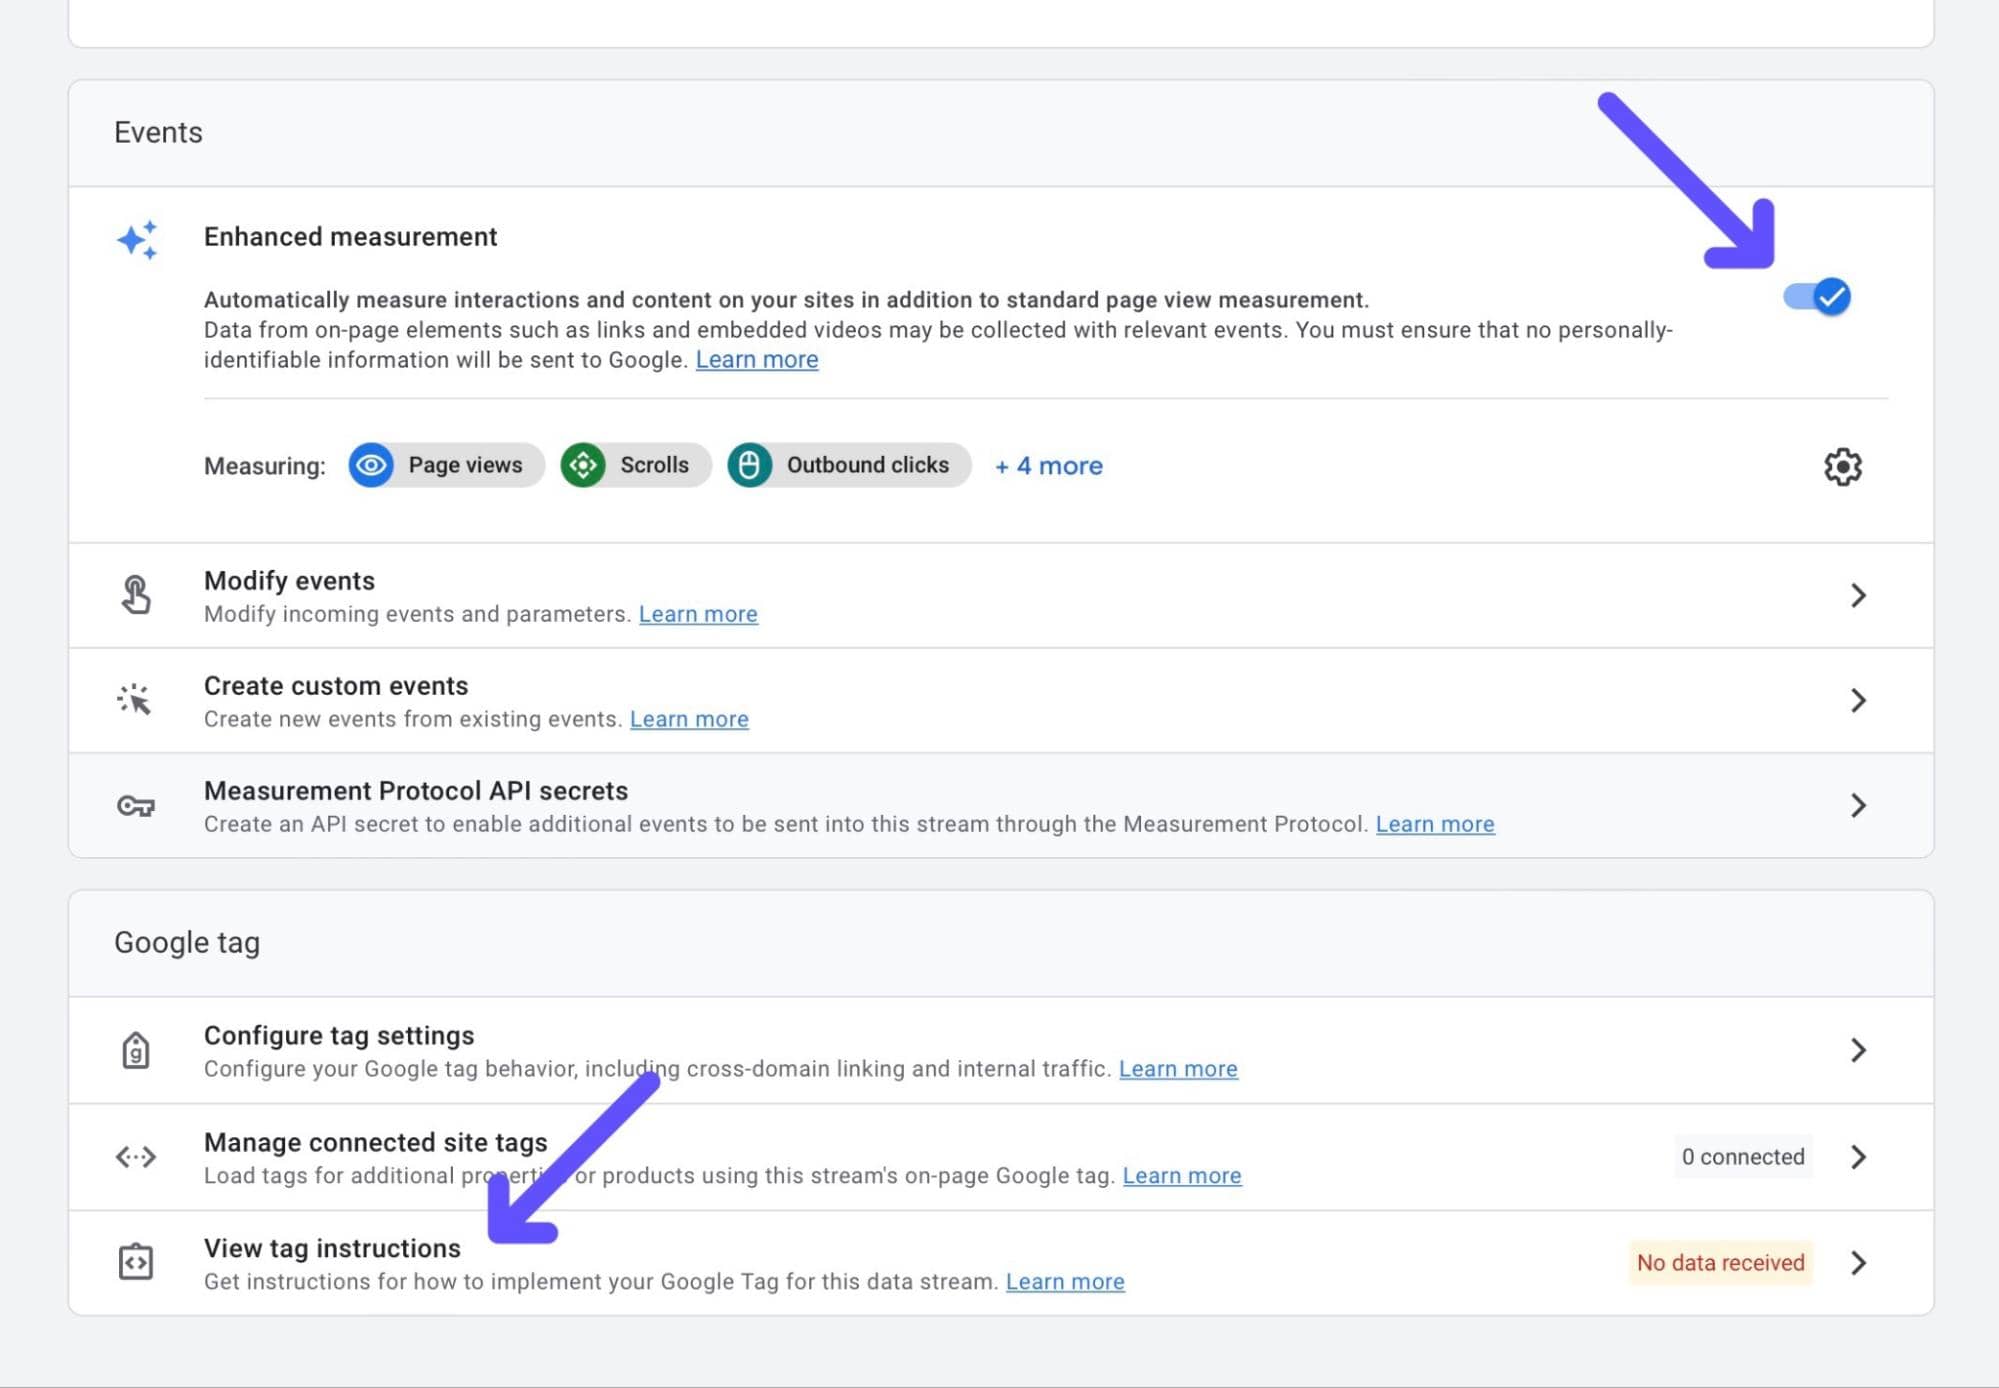
Firstly, make sure to turn on Enhanced Measurement on your property. Since Google Analytics 4 data model is based on events, Enhanced Measurement will simply activate recommended events automatically so the tool can properly track them after setting up your Tag.
Then, click on “View Tag Instructions.”
Step 5: Install Your Google Tag
Now, in order for GA4 to work, you need to install your new GA4 tag ID on your site. There are two ways to do this: the easy way, using your builder or CMS; and the “medium effort” way, by using code.
Install Your Google Tag with a Builder or CMS
If you have, for instance, a WordPress Site, click on “Install with a Website Builder or CMS.”
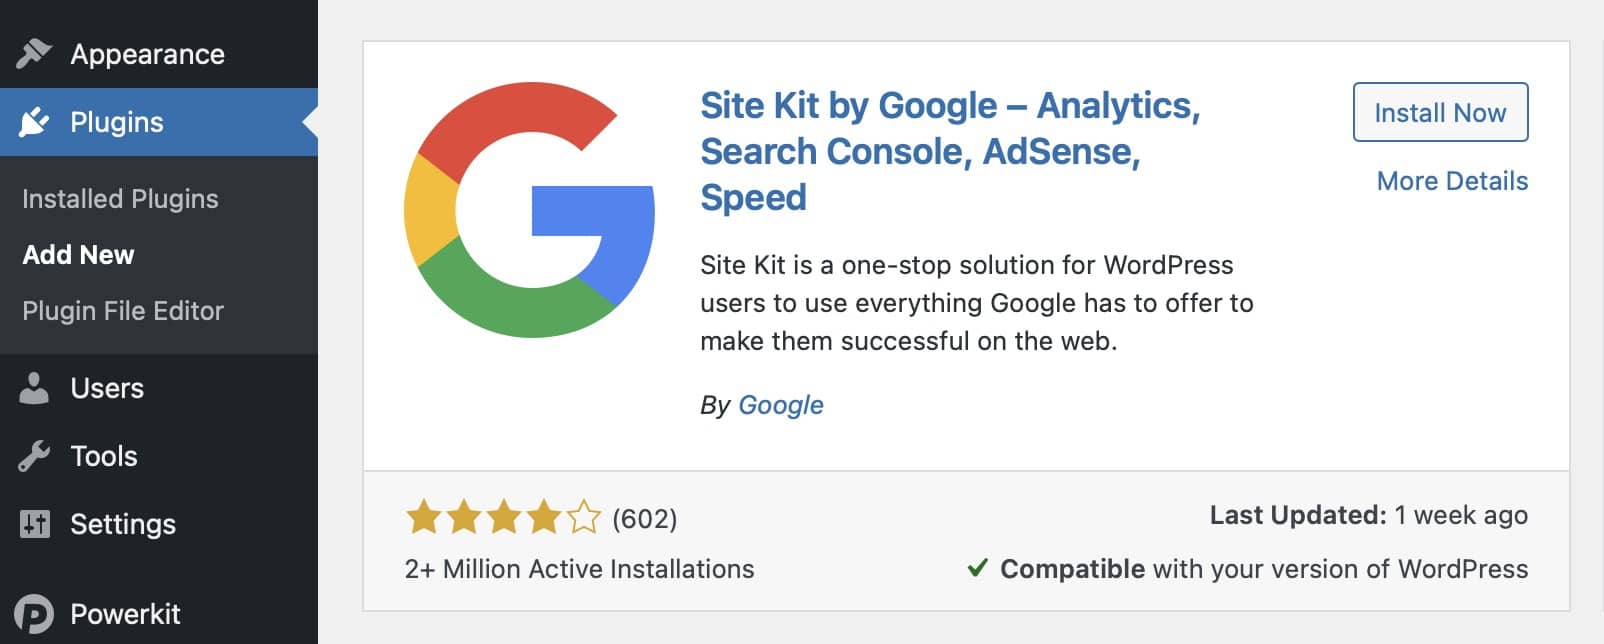
Look through the Supported Platforms, and, in this case, we’ll use the official Site Kit by Google WordPress Plugin.

You can access your WordPress Admin Panel, go to Plugins, select Add New, look for Site Kit by Google, install it, and activate it.
Site Kit will ask you to link your property using your email and credentials. Simply follow the steps until you get to Configure Analytics. Here, make sure you have your tag ID copied.
Lastly, paste the tag ID, and save your changes – your Google Tag Manager ID has been successfully implemented.
Install the Google Tag Manually
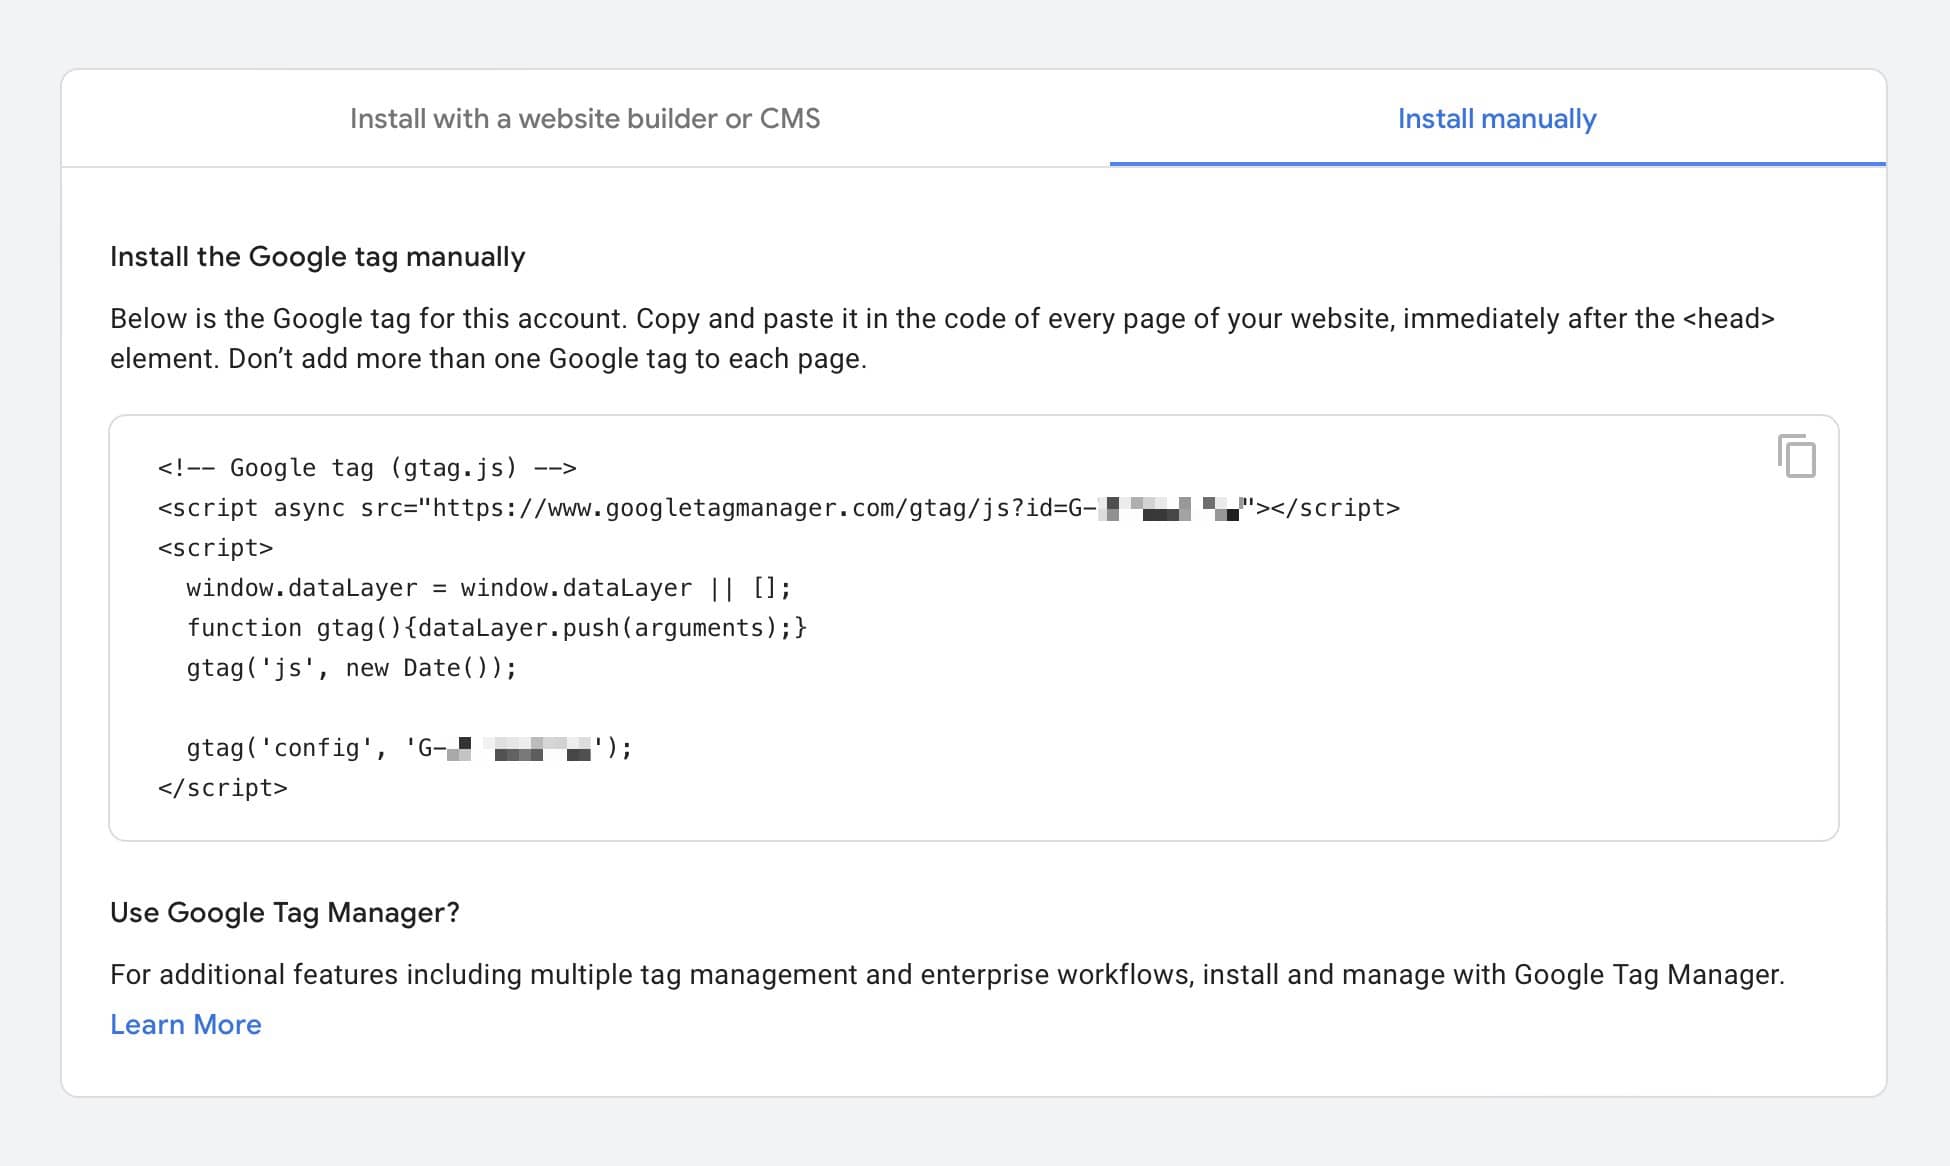
On the other hand, if you have a custom website, then you must install your Google Tag manually.
Click on “Install Manually,” and copy your specific Google tag related to your new GA4 property.
Make sure to add the code on every page of your website immediately after the element.
Step 6: Make Sure that Data Collection is Now Active
After implementing your GA4 property tracking code, go back to the main GA4 admin panel. If everything went alright, then you should see the following message:
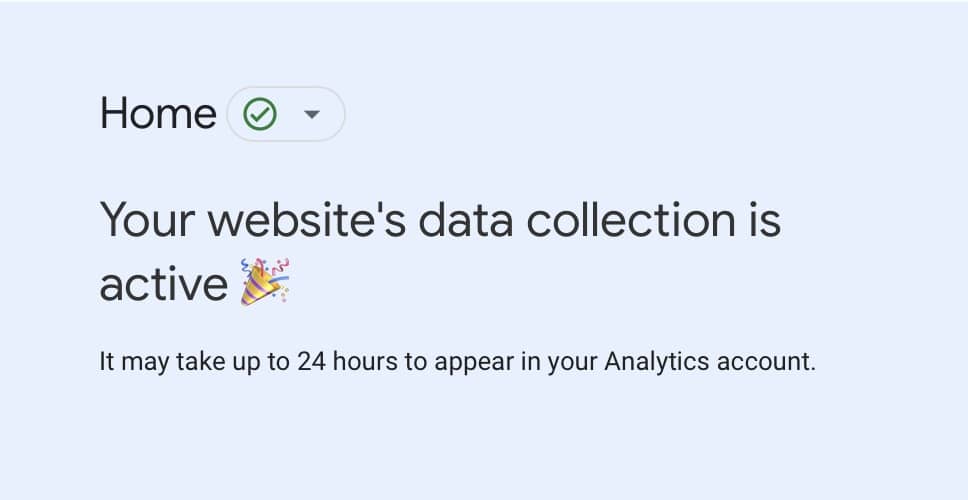
Note that it may take up to 24 hours to properly reflect recent changes on your GA4 property, so have some patience.
From now on, Google Analytics 4 will start collecting data on your website – that’s how you migrate from UA to GA4 easily!
Do you need help with your migration?
Contact us today to get started.